Hostinger Automation with Git

Hostinger is a great and cheap hosting platform for static websites. I currently use the web hosting plan to host several websites. To deploy my website changes, I export my static content (html, css, js) into a zip and unzip it in the file manager’s public_html folder. This is a little cumbersome so I looked for a way to automate this.
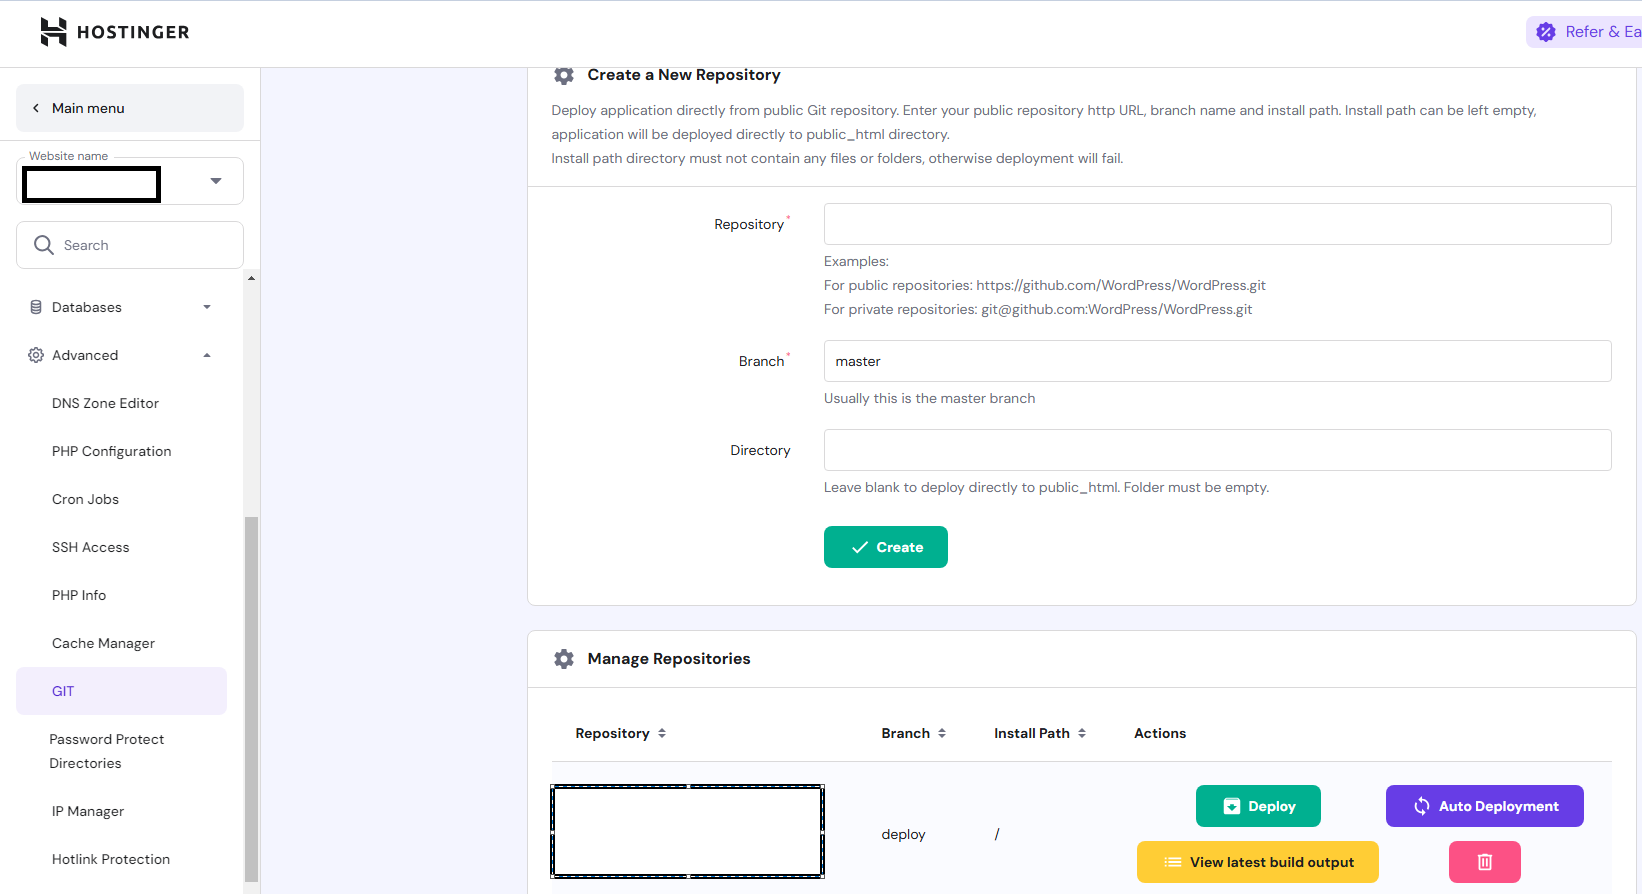
Fortunately this can be done easily. Hostinger has an official tutorial for deploying git repos here.
 However, this step alone won’t work on my web apps built with frameworks such as React, Next, and Hugo. I need another automation step.
Git Subtree
Git subtree is an interesting feature I discovered which allows you to manage a subset of your main repository as its own repository. In my framework repositories, I often have a folder of generated content that is built. This content would be zipped to the Hostinger. Using git subtree, I can take this folder, treat it like its own repo and deploy to git. I can now leave this new “repo” in its own branch to isolate the content from the rest of the code. Now all of my generated html and static content is in one place, ready to be deployed to Hostinger. Using the new branch, I can update the Advanced Git settings to use this new branch. In the automation script below, you will see how to isolate the generated folder into its own branch.
Webhooks
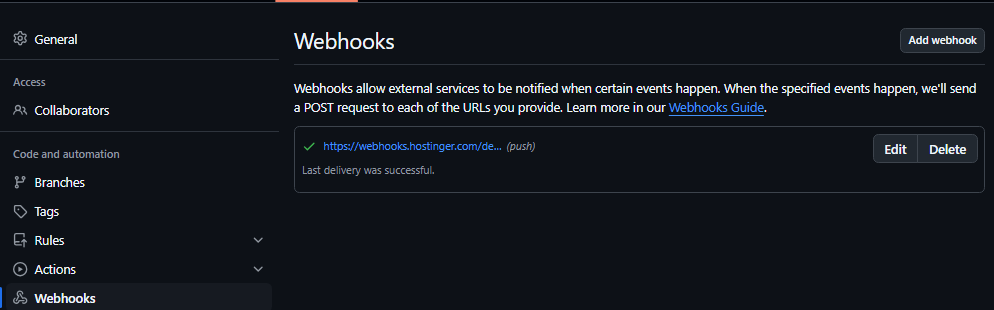
Clicking on the Auto deployment option on Hostinger, I can acquire the webhook url and navigate to Github repo settings and paste the url. This way, whenever there is a change to my repo, the webhook will tell Hostinger to run a new deployment.
Automation Script
Now Hostinger and my Github are connected, I just need a way to generate my build content and deploy it to Github. Below is an example script I used to automatically build my project, copy the generated content to the subtree branch and push these commits to the remote repository.
#!/bin/bash

cd folder

# Run npm install with error checking
echo "Installing dependencies..."
if ! npm install; then
    echo "Error: npm install failed. Exiting."
    exit 1
fi

# Run npm build with error checking
echo "Building project..."
if ! npm run build; then
    echo "Error: Build failed. Exiting."
    exit 1
fi

cd ..
# Copy the .htaccess file to the build output directory
if [ -f ".htaccess" ]; then
    echo "Copying .htaccess to the build output directory..."
    cp .htaccess subfolder/out/
else
    echo "Warning: .htaccess file not found. Skipping copy."
fi

echo "Staging changes for Git..."
if git diff --quiet && git diff --cached --quiet; then
    echo "No changes to stage."
else
    git add .
fi

commit_message="Auto Deploy on $(date +'%Y-%m-%d %H:%M:%S')"
if git diff --cached --quiet; then
    echo "No changes to commit."
else
    echo "Committing changes..."
    git commit -m "$commit_message"
fi

echo "Deploying to GitHub Main..."
if ! git push origin main; then
    echo "Failed to push to main branch."
    exit 1
fi

echo "Deploying to GitHub Hostinger..."

if git branch --list | grep -q 'hostinger-deploy'; then
    git branch -D hostinger-deploy
fi

if ! git subtree split --prefix subfolder/out -b hostinger-deploy; then
    echo "Subtree split failed."
    exit 1
fi

if ! git push origin hostinger-deploy:deploy --force; then
    echo "Failed to push to hostinger branch."
    git branch -D hostinger-deploy
    exit 1
fi

git branch -D hostinger-deploy

echo "Site Deployed!"
Flaws
This script will not work if your generated content is not actually tracked by git. My .gitignore ignores my build folder since generally, you should not track generated content and just build things locally after cloning a repo. However, in order for Hostinger to see the changes, they must be tracked somewhere. Thus, we now have duplicate images and lots of generated files that are thrown into our git repo.
Conclusion
Overall, I am happy with this automation as I don’t have to zip my files, login to Hostinger, delete the old files, upload new ones, and unzip the new ones. Now I can just run my script from my terminal and my live website will have the new changes!